Radial Arm Saws
|
A
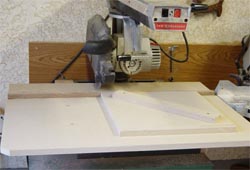
radial arm saw basically consists of a motor (rather like a handheld
circular saw) suspended from a long arm, in a yoke, which allows
multiple degrees of rotation for the motor assembly. The motor assembly
connects to the overhead arm by a carriage assembly that traverses the
armís length when manually pulled by the operator. All parts of this
assembly may be locked into particular positions as desired by the user.
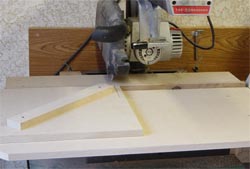
To achieve a simple 90 degree cross cut the saw is pulled from back to
front, through a slot in the fence. To make a rip cut the motor head is
rotated 90 degrees and positioned outside the fence parallel to it.
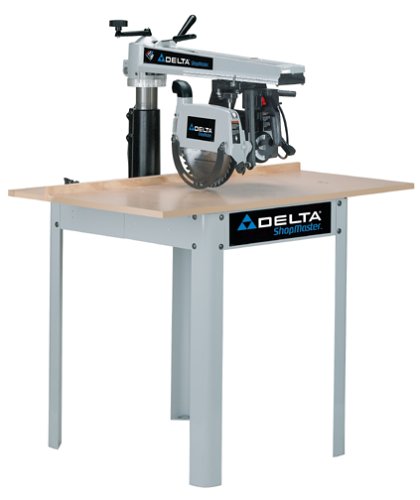
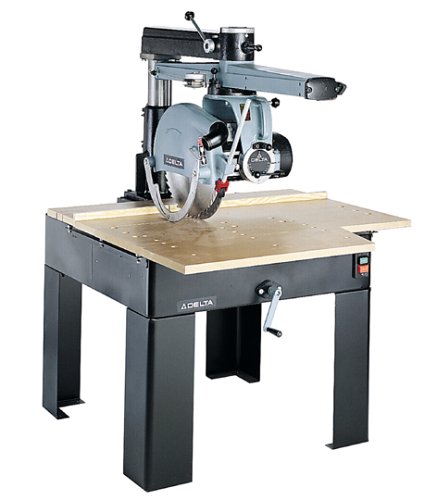
Radial arm saws were first developed by Raymond E. Dewalt in 1922 and were marketed under the name of the Dewalt "Wonder-Worker". Dewalt continued to manufacture radial arm saws until 1990 when they sold the rights to The Original Saw Company. Sears has sold their Craftsman brand since 1958, in fact there is a recall on the guard for some of the older models that even supplies you with a new table. Delta entered the market in 1948 when they bought out Red Star Products, producing 8" to 20" models. These versatile saws offer the capability of ripping and cross cutting as well as miter, dado and rabbet cuts. With attachments they will also work as a shaper or router in a pinch. Most home shops will have a 10" model, the larger models are usually found in industrial settings. 10" Model It cuts up to 2-3/4 inches deep at 90 degrees, 2-1/2 inches at a 45-degree bevel, and crosscuts 16 inches at 90 degrees.
16" Model Crosscut up to 29 inches and rip up to 41 inches with the saw in the outboard position.
1. Wear safety glasses or a face shield. 2. Wear hearing protection that is suitable for the level and frequency of the noise you are exposed to in the woodworking area. 3. Keep the area clear around the saw. 4. Only use saw blades rated at or above the speed of the saw arbour. 5. Use only the accessories designed for that specific saw and application. 6. Ensure the guard is on the saw. 7. Stand on the handle side when cross cutting. Pull the cutting head with the hand nearest the handle. 8.Make sure the hand holding the stock is never in line with the blade. 9. Return the cutting head completely to the back of the saw table after each cut. The saw should be set up so that the blade will not move forward under its own weight or if the machine is vibrating. 10. When ripping, make sure that the overall length of the saw table (both infeed and outfeed) is twice the length of the longest pieces of lumber. 11. When ripping, make sure that the stock is fed against the direction of the blade (from the side where the saw blade rotates upward toward the operator). The blade should extend slightly into the table. The motor head must be locked at the correct height and angle. 12. Do not use radial arm saws for ripping unless the spreader (riving knife) and anti-kickback devices are provided and properly adjusted. 13. Do not take your hand away from the operating handle unless the cutting head is behind the fence. 14. Do not remove the stock from a saw table until the blade has been returned to its "resting" position at the back of the saw table. Use a stick or brush to remove scrap from the saw table. 15. Do not cut "free hand". Use the back guide or fence, or other device to keep the workpiece from moving. 16. Do not leave a running saw unattended - leave only after the saw has been turned off and it has come to a complete stop. In recent years there has been much talk of pushing the blade through the stock away from the operator as a safer method of using the saw. In
my opinion one should never use a pushing movement back through the
stock and against the direction of blade rotation. There are two
important safety reasons for this. First, the blade will tend to lift
the front of the stock off the table and possibly throwing it into the
blade. Second, if the blade hits a hard spot in the wood it can kick
back powerfully and suddenly push the motor back at the operator.
|

